- 10.00am - 5.30pm
- FREE
- Chelsea, London

- 10.00am - 5.30pm
- FREE
- Chelsea, London
Explore more from British Civil Wars
Edward Walker: Eyewitness to civil war
17 min read
Related topics
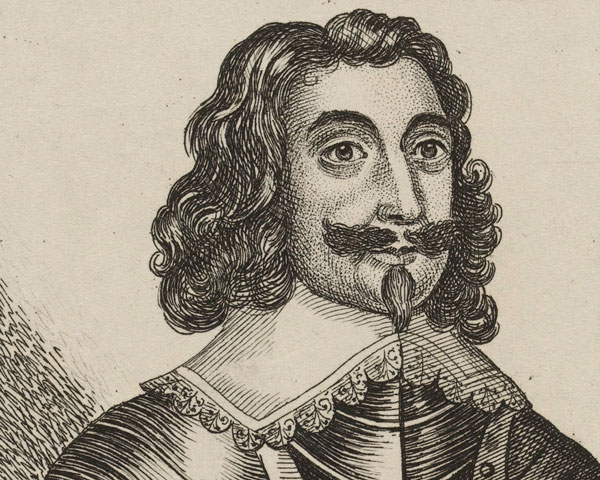
Edward Walker, Secretary at War to King Charles I, 1640s

Royal service
Sir Edward Walker (1612-77) enjoyed a long and distinguished career in royal service. During the British Civil Wars, he served as Clerk Extraordinary of the Privy Council, Secretary to the Council of War and Secretary at War. These roles placed him at the heart of the Royalist war effort and brought him into daily contact with King Charles I.
Walker cut an unpopular figure at court. He was regarded as arrogant, cantankerous and a sycophant. It's unlikely that he had any influence on policy, but he would have been immersed in the poisonous atmosphere of the court and intimately acquainted with the rivalries and disputes that were to prove so detrimental to the Royalist cause.
Chronicles of war
Walker is best remembered for his role as a chronicler of the war. He produced many documents through his secretarial work, foremost of which are his minutes of the Council of War. This was the principal advisory and administrative body that managed the Royalist war effort. Walker’s minutes give precious insights into the Royalist wartime high command.
The National Army Museum holds a series of these minutes, taken during August and September 1644, that are of great relevance to the Battle of Lostwithiel. Researchers can access these documents via the Templer Study Centre.
Varied accounts
Walker also wrote a contemporary account of the years 1644-45. Published posthumously in 1705 as Historical Discourses, it was written under the auspices of the King. While lauded by historians for its reliability, the account was effectively Royalist propaganda. It contains the most widely known account of the Battle of Lostwithiel.
However, Walker also wrote an obscure earlier account in a letter of 2 September 1644, the day on which the Parliamentarian Army surrendered. This account was published anonymously in the Royalist newspaper Mercurius Aulicus on 7 September 1644.
Its true author was unknown until an early draft of the document, also held by the National Army Museum, was transcribed and clearly established Walker as its creator. This means that a fascinating comparison with his later account can now be made.
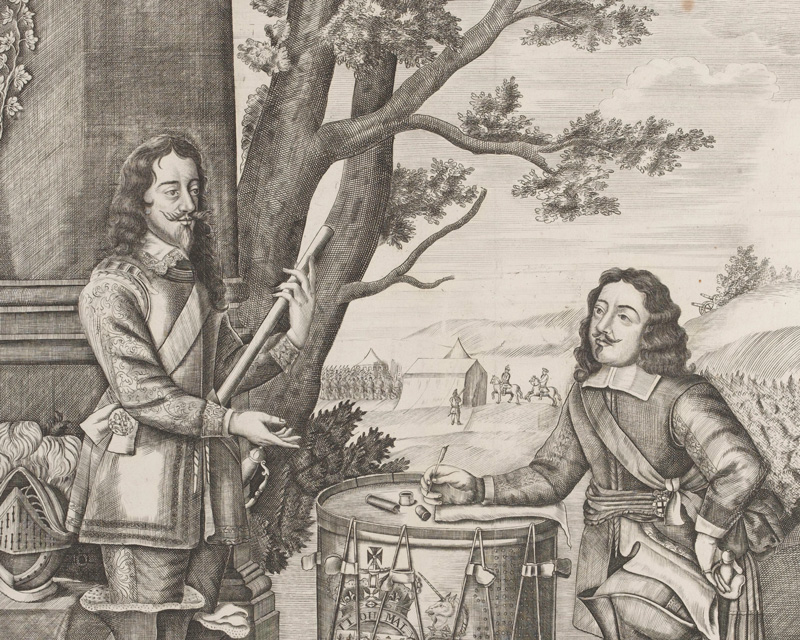
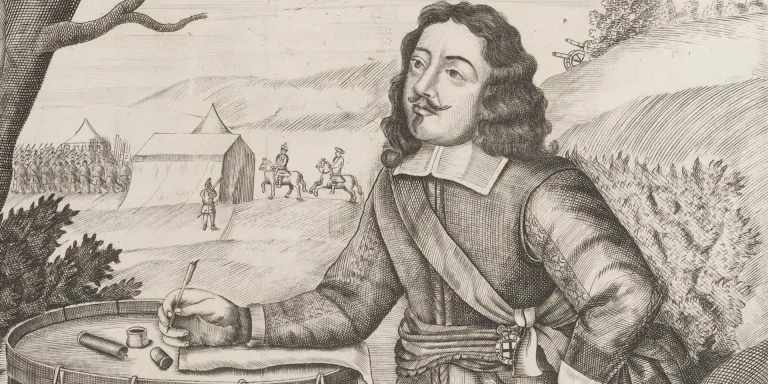
King Charles I giving orders to Sir Edward Walker, 1640s
War in the West Country
The Battle of Lostwithiel, fought in Cornwall in August and September 1644, was the greatest Royalist victory of the Civil War.
The origins of the battle lie in the failure of the Royalist invasion of south-east England in Spring 1644. This left the Royalist-held West Country open to counter-invasion by Parliament and placed the King’s main army at Oxford under threat from two Parliamentarian armies; one led by Robert Devereux, Earl of Essex, and the other by Sir William Waller.
But the battle was also born out of Parliament’s muddled system of command and the terrible relations between Essex and Waller. These factors resulted in Essex’s army breaking off its pursuit of the King and instead undertaking an advance into the west. This would culminate in an attempt to conquer the Royalist stronghold in Cornwall.
Deftly exploiting the division of enemy forces, the King’s army undertook its greatest campaign of the war. First, it disabled Waller’s army in the battle of Cropredy Bridge on 29 June. It then shadowed Essex’s army as it advanced westward.
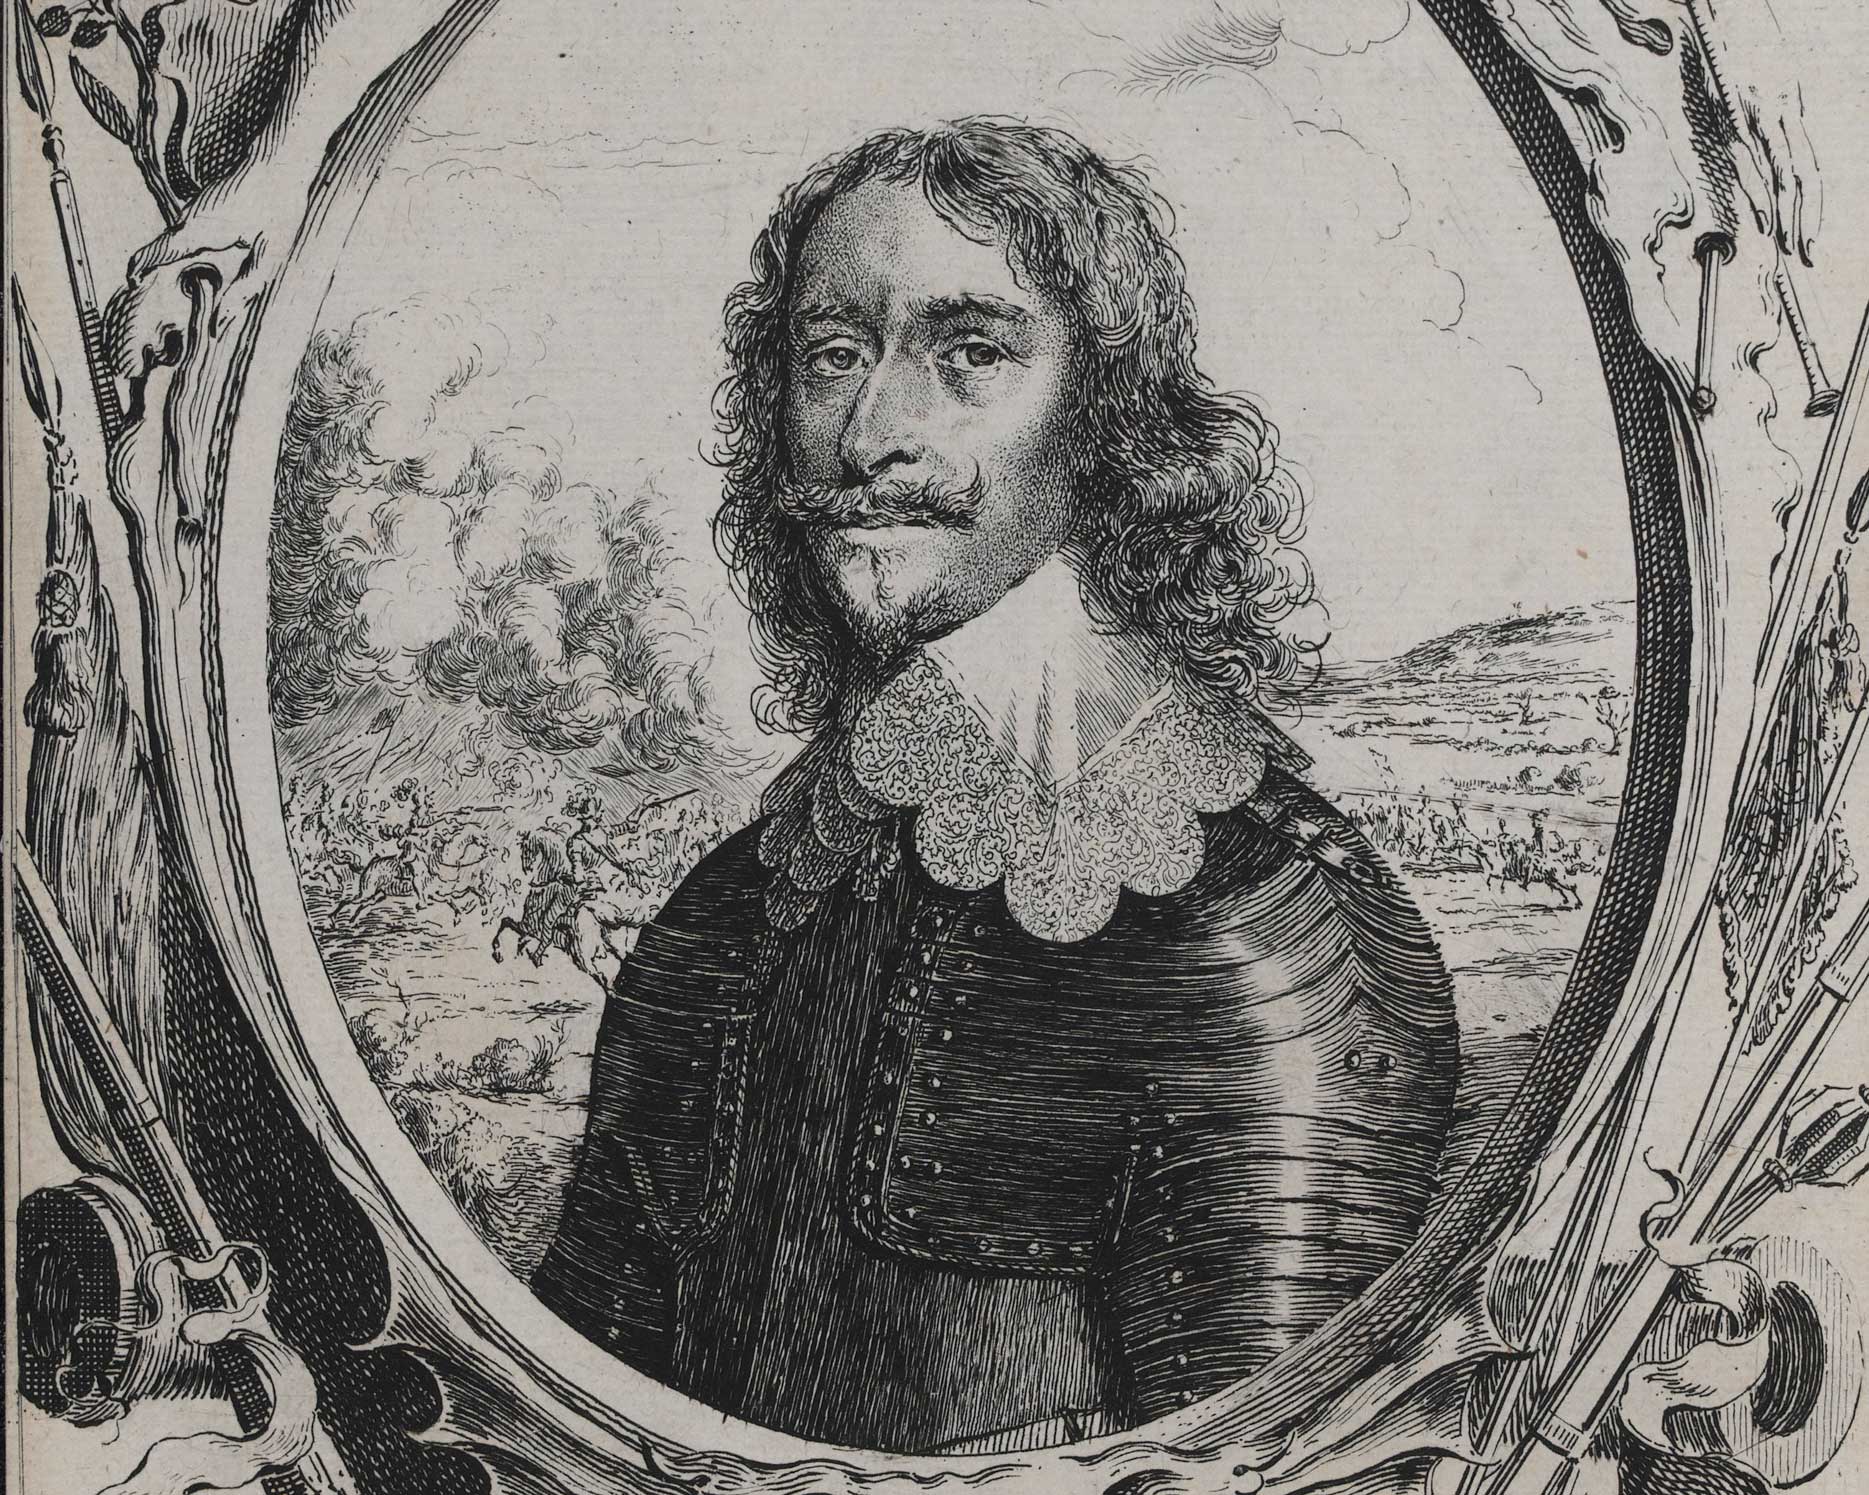
Robert Devereux, Earl of Essex, c1644
Major General Sir William Waller, 1643
Battle of Lostwithiel
When Essex’s force advanced into Cornwall, the Royalists succeeded in trapping it in an area around Lostwithiel. In a series of battles and manoeuvres, the Royalists tightened the noose around the Parliamentarians and forced them to fall back into increasingly untenable positions.
Advancing from east and west, the Royalists surrounded Essex’s army and cut it off from the Parliamentarian navy by capturing a fort commanding the entrance to the port of Fowey to the south. Then, on 21 August, Essex lost the crucial high ground surrounding Lostwithiel to a well co-ordinated surprise attack by the Royalists. Finally, towards the end of the month, the Parliamentarians lost their forage area and small supply ports to the south and west of the town.
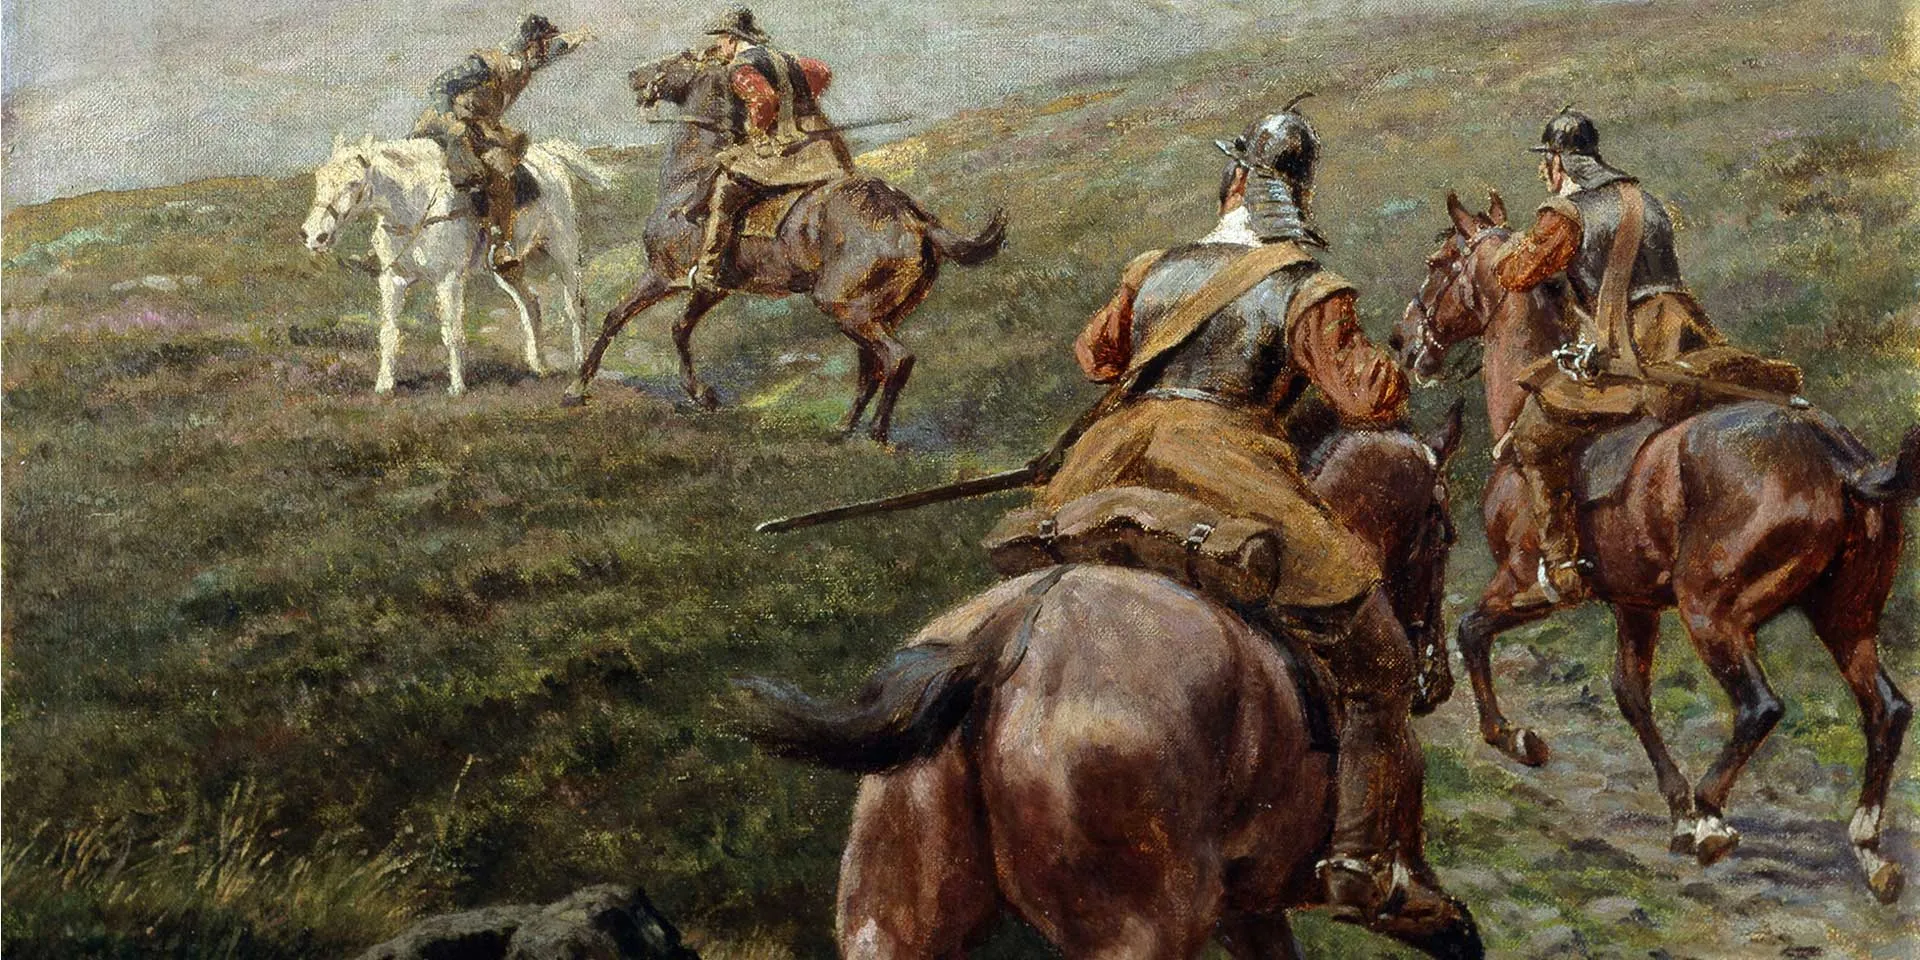
Their situation was now desperate. The Parliamentarians elected to attempt a daring breakout by their horse, while their foot would enact a fighting retreat towards Fowey in the vain hope that they could be evacuated by the navy.
The escape of the Parliamentarian horse in the early hours of 31 August was a striking success. But the foot army’s attempt to fight a rearguard action was spirited but futile. Essex and a few other commanders escaped by sea, leaving 6,000 men to surrender.

Horsemen of the New Model Army, c1645
Aftermath of Lostwithiel
The Royalists captured a huge stock of arms. But, too exhausted to hold such a large body of prisoners, they were compelled to release them. They obtained a promise only that they would not take up arms again until they reached Southampton and Portsmouth.
Although the Royalist triumph at Lostwithiel was insufficient to turn the tide of the conflict, it re-asserted their control over the West Country and kept them very much in the war. Paradoxically, it also helped sow the seeds of their ultimate defeat.
Charles came away with the conviction that he was his own best general. But his hubris masked his defects as a commander, in particular his vacillation and lack of personal authority. These flaws led to muddled decision-making and allowed bitter rivalries among his subordinates to flourish; handicaps which were to prove fatal at the Battle of Naseby the following year.
By contrast, defeat at Lostwithiel, combined with other setbacks that year, galvanized the Parliamentarians. They launched a root and branch reform of their war effort, which led to the creation of the New Model Army. This highly disciplined and effective fighting force was to be the Royalists’ nemesis.
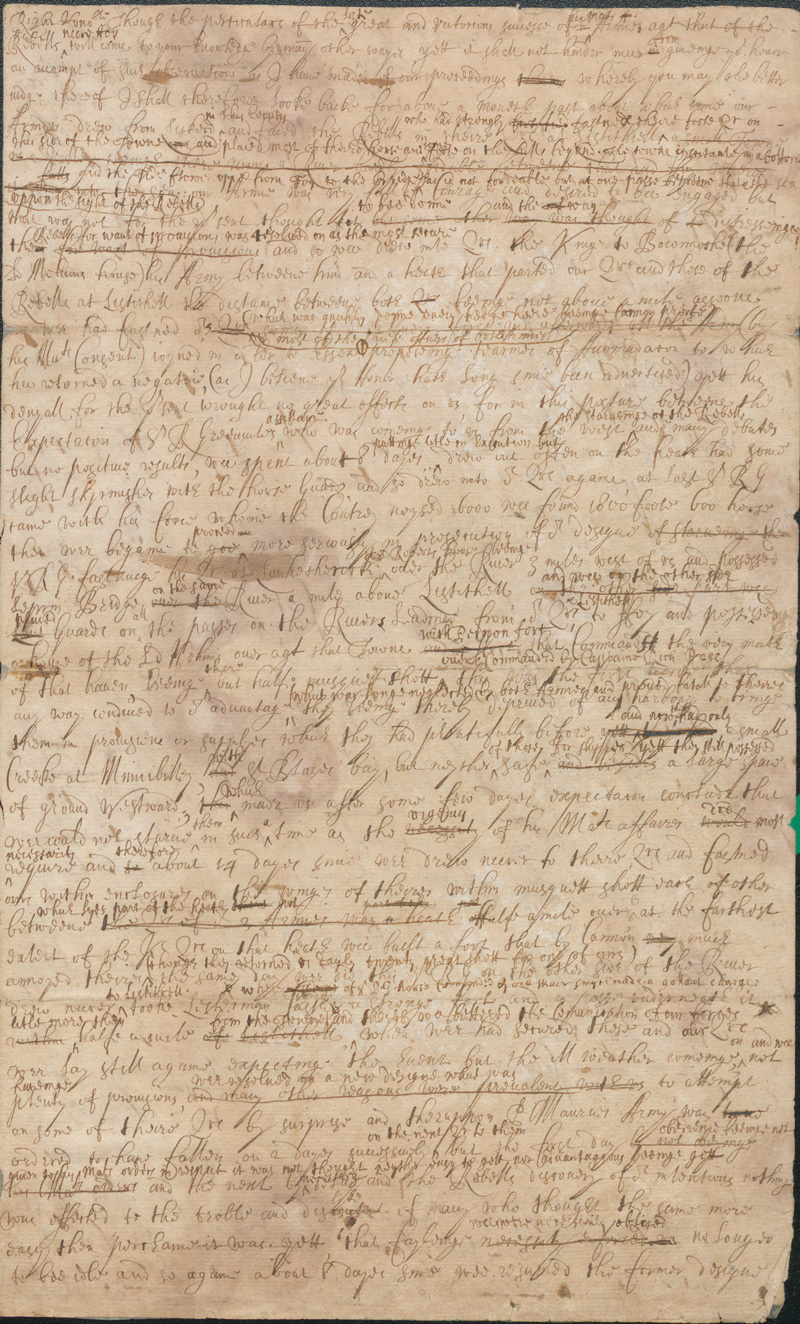
Letter by Sir Edward Walker containing an account of the Battle of Lostwithiel, 1644
Areas of disagreement
Walker’s two accounts of the battle differ in style and substance. While they show a broad correlation, they disagree on some crucial points of detail. Most significantly, they differ over the escape (in the early hours of 31 August) of the Parliamentarian horse, commanded by Sir William Balfour.
Both accounts agree that Balfour’s Horse got through without any opposition. But, in his later account, Walker describes how the Royalists had prior knowledge of the breakout attempt from information provided by deserters, and that a trap was laid for them. He then goes on to express bafflement at how Balfour’s horse got through without a fight.
Yet, if we were to accept the accuracy of Walker’s earlier account - suggesting that the Royalists had no prior knowledge of the breakout and that there was no trap - then the ease of Balfour’s escape makes far more sense.
It is difficult to explain the discrepancy between Walker’s two narratives. The issue is further obscured by Parliamentarian sources. Contradicting both of Walker’s accounts, they suggest that fighting did take place during the breakout.
Unless a further source comes to light, it will be impossible to resolve this issue. But it is clear that the reliability of Walker’s more commonly known later account has been undermined by the establishment of his authorship of this earlier version.

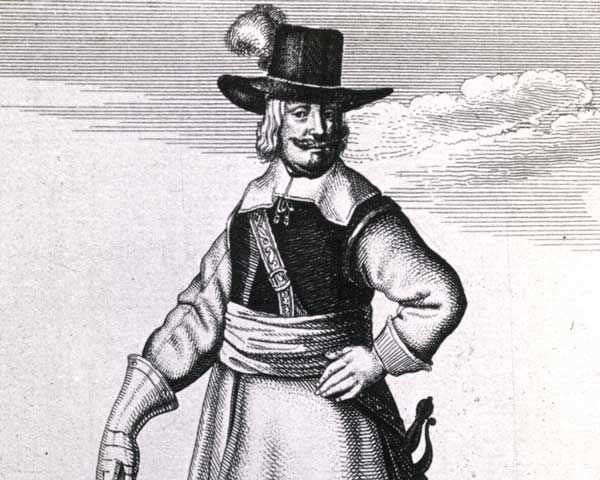
Lord George Goring who commanded the Royalist horse during the Battle of Lostwithiel
Major General Philip Skippon who accepted the surrender of Parliament's army at Lostwithiel
‘Wee prepared to follow not knowing what they had done with their horse.’
Edward Walker's draft account of Lostwithiel - 1644
Further discrepancies
Another area of disagreement is over the handling of the prisoners of war taken at the end of the battle. There are, in fact, three versions of this episode. Walker’s early draft account differs significantly from both those published in Mercurius Aulicus and in Historical Discourses. His early draft is far more revealing about the grim fate that awaited the prisoners.
It describes how they suffered very ‘rude and barbarous’ treatment before being plundered by the Royalist soldiers. This treatment is not mentioned in Historical Discourses and the plundering here is given a justification, not mentioned in the earlier account, that the Parliamentarians had held onto some of their weapons and thereby broken the terms of their surrender.
Historical Discourses also describes how the King ordered the Royalist plunderers to be severely punished, another detail left out in the earlier account.
Of the three, the Mercurius Aulicus version is the most fanciful. It makes no mention of plundering or rough treatment and instead asserts the falsehood that Charles’s clemency in not ordering the Parliamentarians to be put to death ‘caused many thousands of them instantly to desire employment in his majesties cause’.
It is clear that Walker’s earlier account is the more candid and reliable of the three and that both later accounts have been re-worked for the purposes of propaganda.
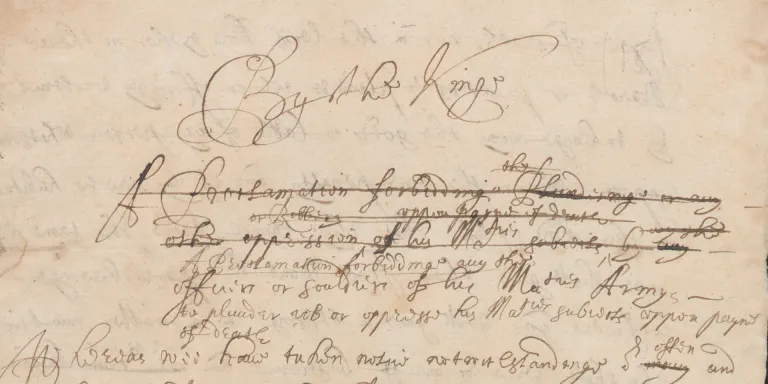
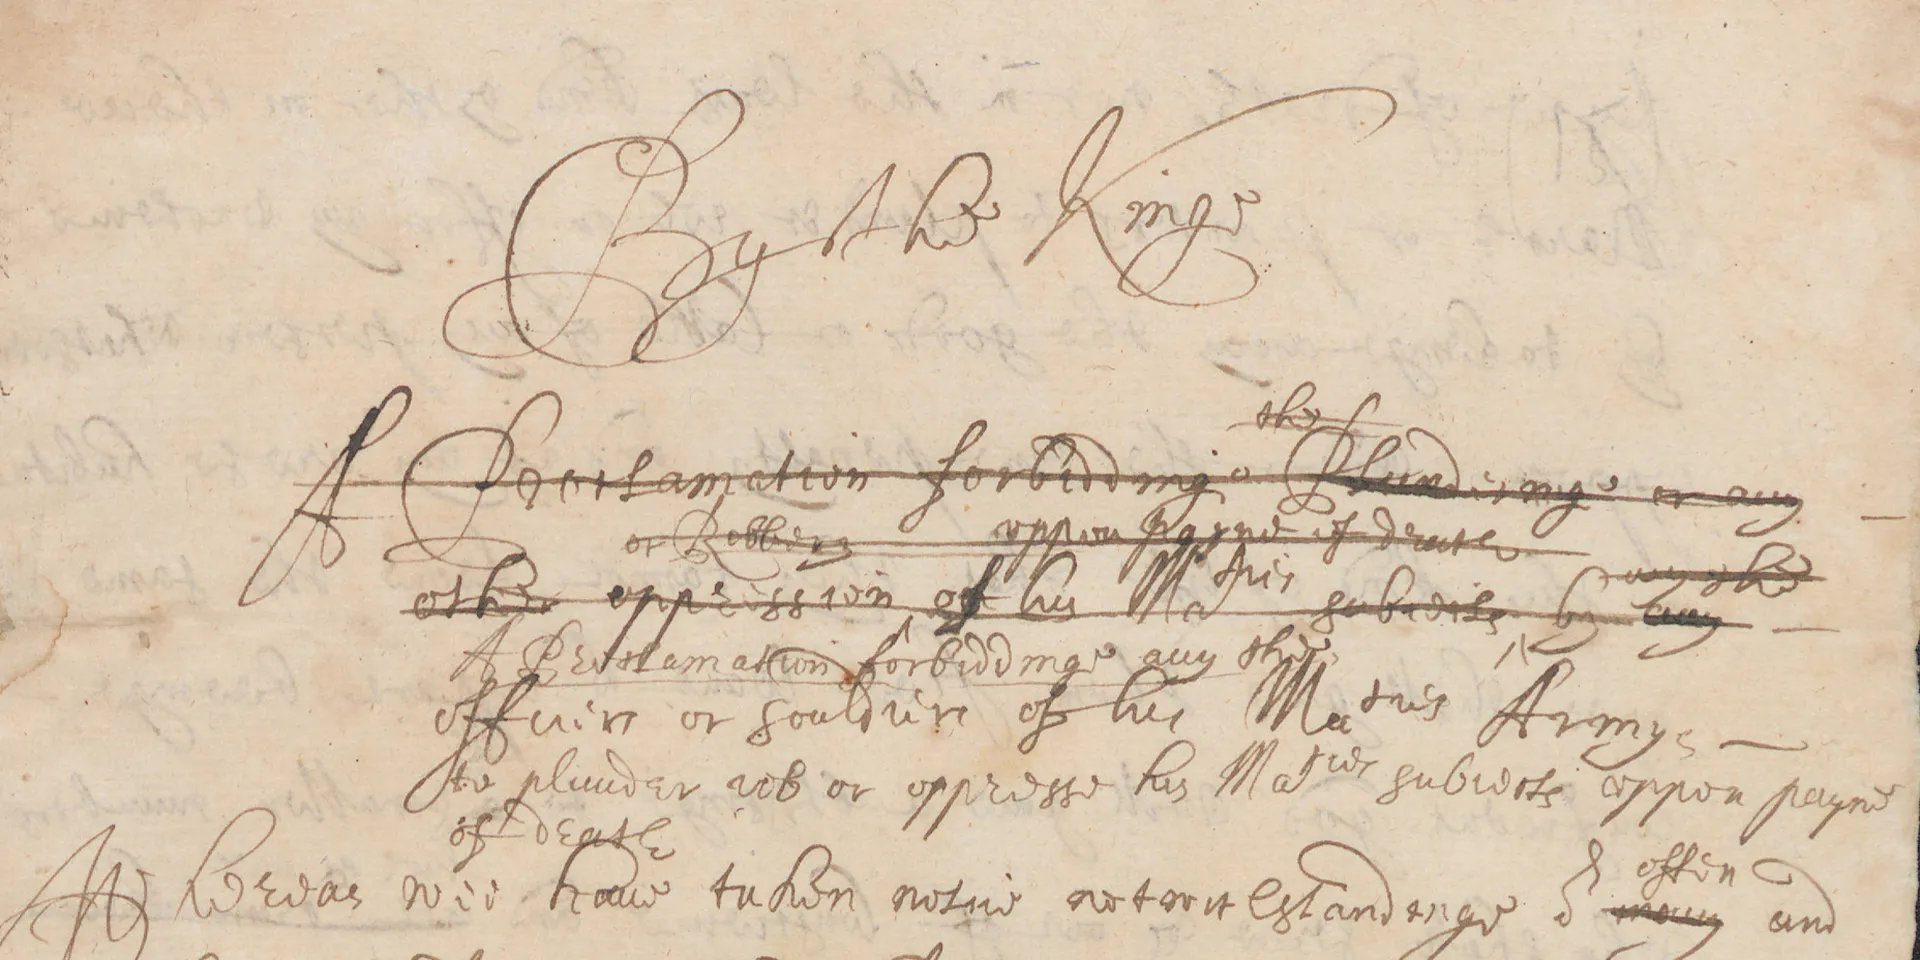
‘[Plunderers are to] bee immediately put to death without mercy, to the terror of others and the satisfaction of justice and our owne conscience.’
Draft royal proclamation forbidding plundering - 9 August 1644
Looting and desertion
Walker’s papers tell us a lot about the conduct of the British Civil Wars. The most notable insight is into the disciplinary problems relating to looting and desertion, which bedevilled all armies of this period.
Royal proclamations drafted by Walker illustrate how the Royalists attempted to forbid plundering, threatening savage punishment for those caught so doing. The severity of these edicts reflects the importance of discipline in maintaining an army in the field and the need to prevent the alienation of local people, upon whom the wider war effort depended.
The papers also contain a raft of measures issued against deserters and with the intention of raising fresh troops. These give the impression of an army in flux and show how manpower was a serious problem requiring constant attention.
Royalist logistics
The papers also contain a wealth of details about the Royalist army’s logistics. They make frequent mention of the quartering of troops and the organisation of supplies such as shoes and stockings.
During the Lostwithiel campaign the long march of the Royalist army placed severe strain upon its supply chain. But, on the whole, these problems were well-handled and proved key to Royalist success.
‘For me, as a Cornishman, the collection sheds light onto an important period in the history of my home county and the greatest battle that has taken place upon its soil.’
Justin Saddington, Curator, National Army Museum - 2017
Walker’s legacy
Walker’s papers are of great value in illuminating many aspects of the British Civil Wars and in providing a first-hand perspective on the Battle of Lostwithiel. For years to come, eagled-eyed historians will be glad to mine them for information and bring their findings to bear upon historical disputes.
Explore further


