- 10.00am - 5.30pm
- FREE
- Chelsea, London

- 10.00am - 5.30pm
- FREE
- Chelsea, London

42nd Highlanders in front of the Sphinx at Giza, 1882
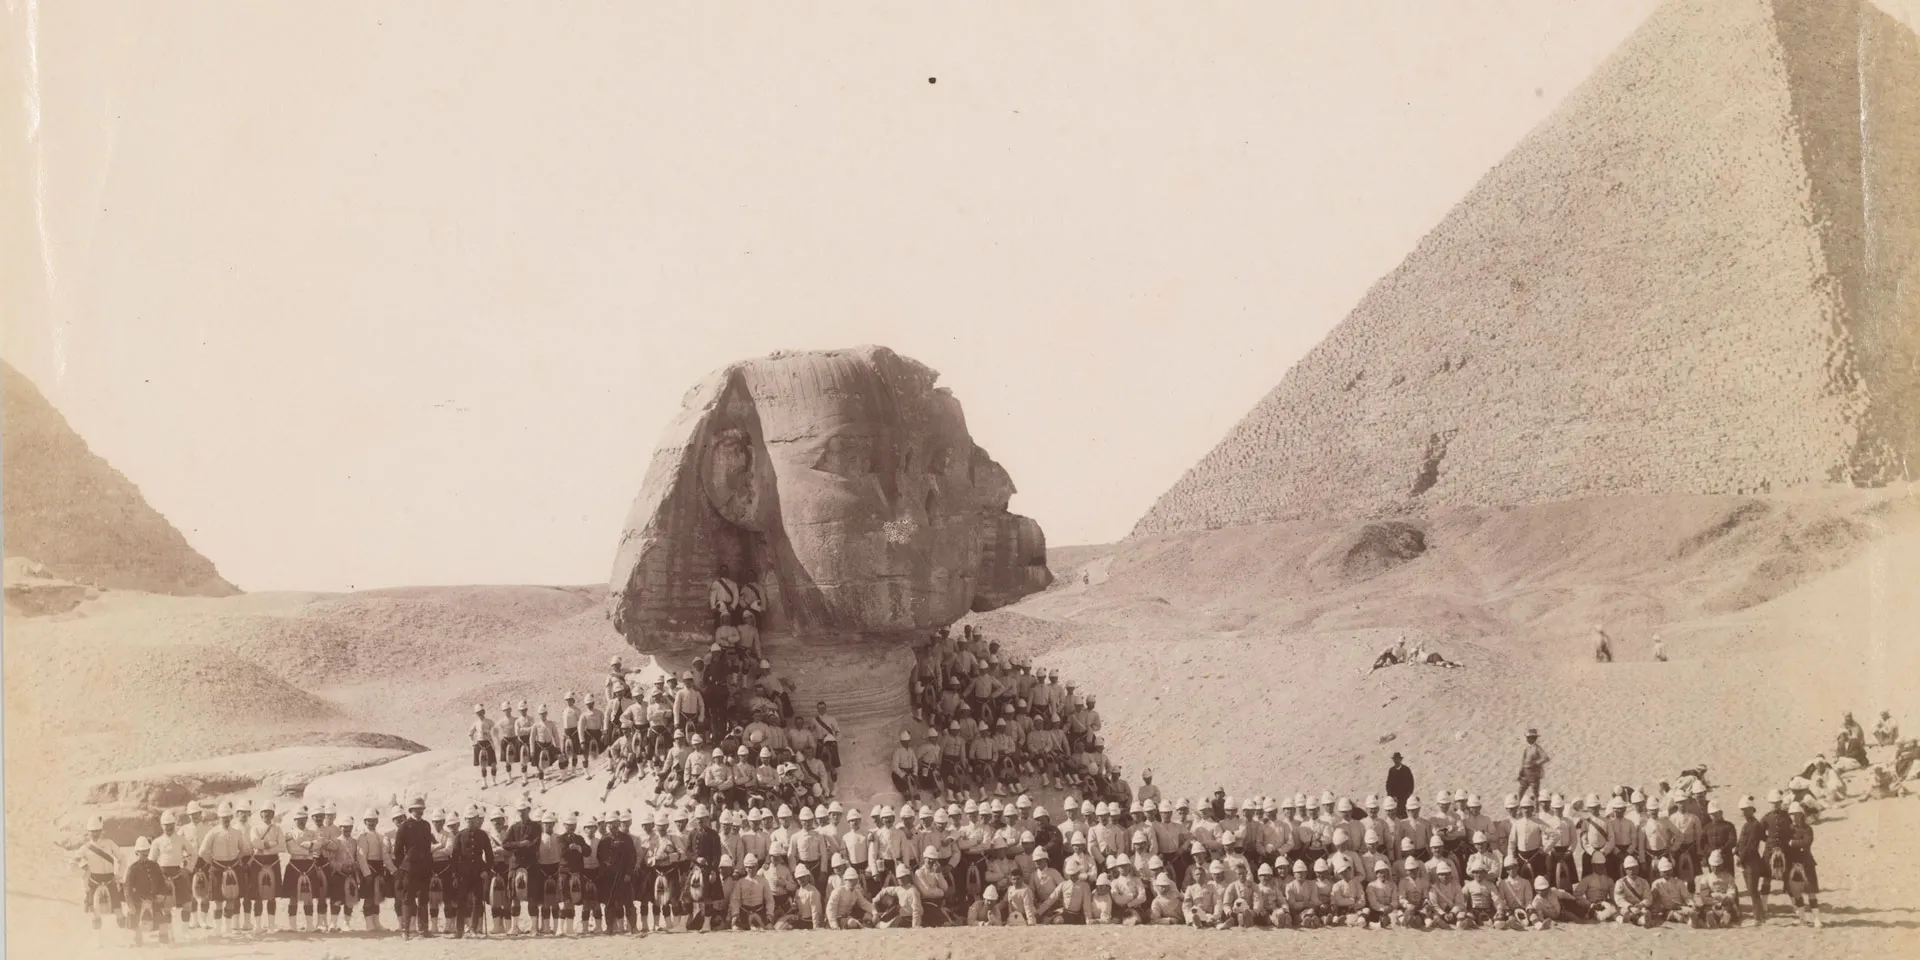
Egypt
Britain’s strategic interest in Egypt increased after the construction of the Suez Canal. Opened in 1869, the Canal considerably shortened the trade and military routes to India and the East. In 1875, the British government bought shares in the Suez Canal Company.
Egypt, which owed nominal allegiance to the Ottoman sultan, had become virtually bankrupt by 1878. The dire economic situation led to Britain and France taking control of Egyptian finances and, in effect, running the country.
This caused outrage among large numbers of Egyptians. Their anger was exacerbated by the decision of their ruler, the Khedive (Viceroy), to get rid of many Egyptian Army officers as a money-saving measure. Many Egyptians also sought wider reforms that would increase opportunities for previously excluded groups.
4th (Royal Irish) Dragoon Guards in Egypt, 1882
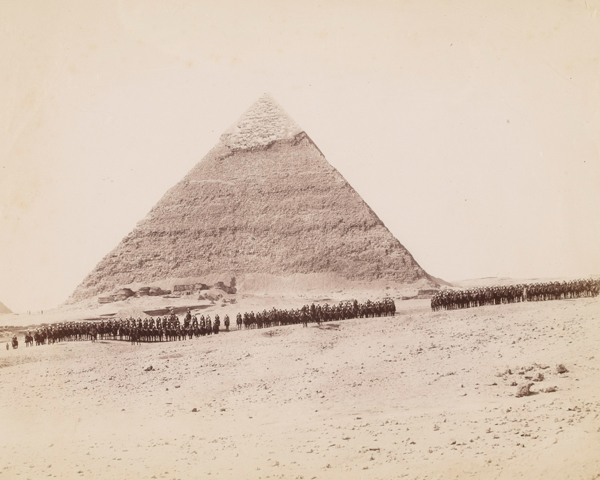
19th Hussars formed up at Giza, Egypt, 1882
Arabi Revolt
In May 1882, one Egyptian officer, Colonel Ahmed Arabi, sidelined the Khedive and led a revolt against what he and his supporters saw as unwarranted foreign interference in Egypt’s affairs. They also wanted to reform society. The British government however concluded that in order to protect its strategic and financial interests in the region, military intervention was unavoidable.
After a naval bombardment of Alexandria in July, a British and Indian force of 35,000 men under Lieutenant-General Sir Garnet Wolseley sailed into the Suez Canal and landed at Ismailia the following month.
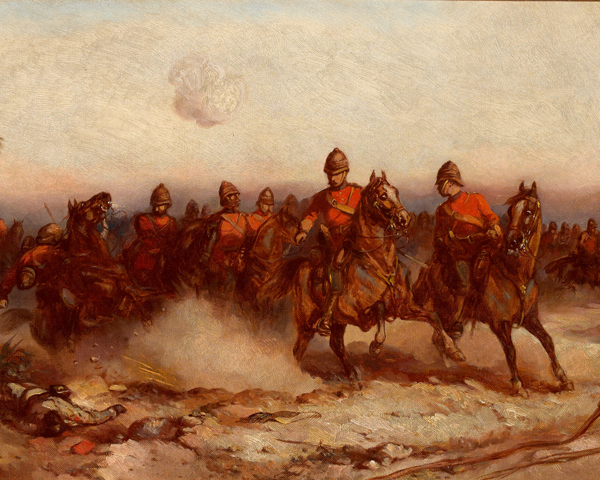
Charge of the Household Cavalry at Kassassin, 1882
The Black Watch at the Battle of Tel-el-Kebir, 1882
Two victories
On 10 September, Arabi led an Egyptian force against British troops at nearby Kassassin in an attempt to recapture the Canal. The battle's outcome was in the balance until British reinforcements arrived and secured victory just as darkness began to fall.
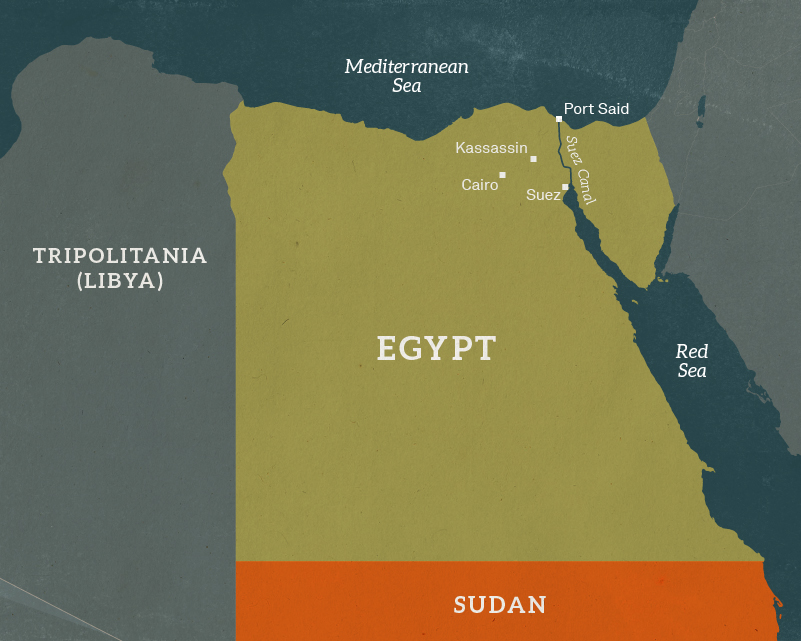
Map of Egypt, 1882
On 13 September, after a daring night march, Wolseley’s troops then surprised the Egyptians at Tel-el-Kebir and drove them from their trenches.
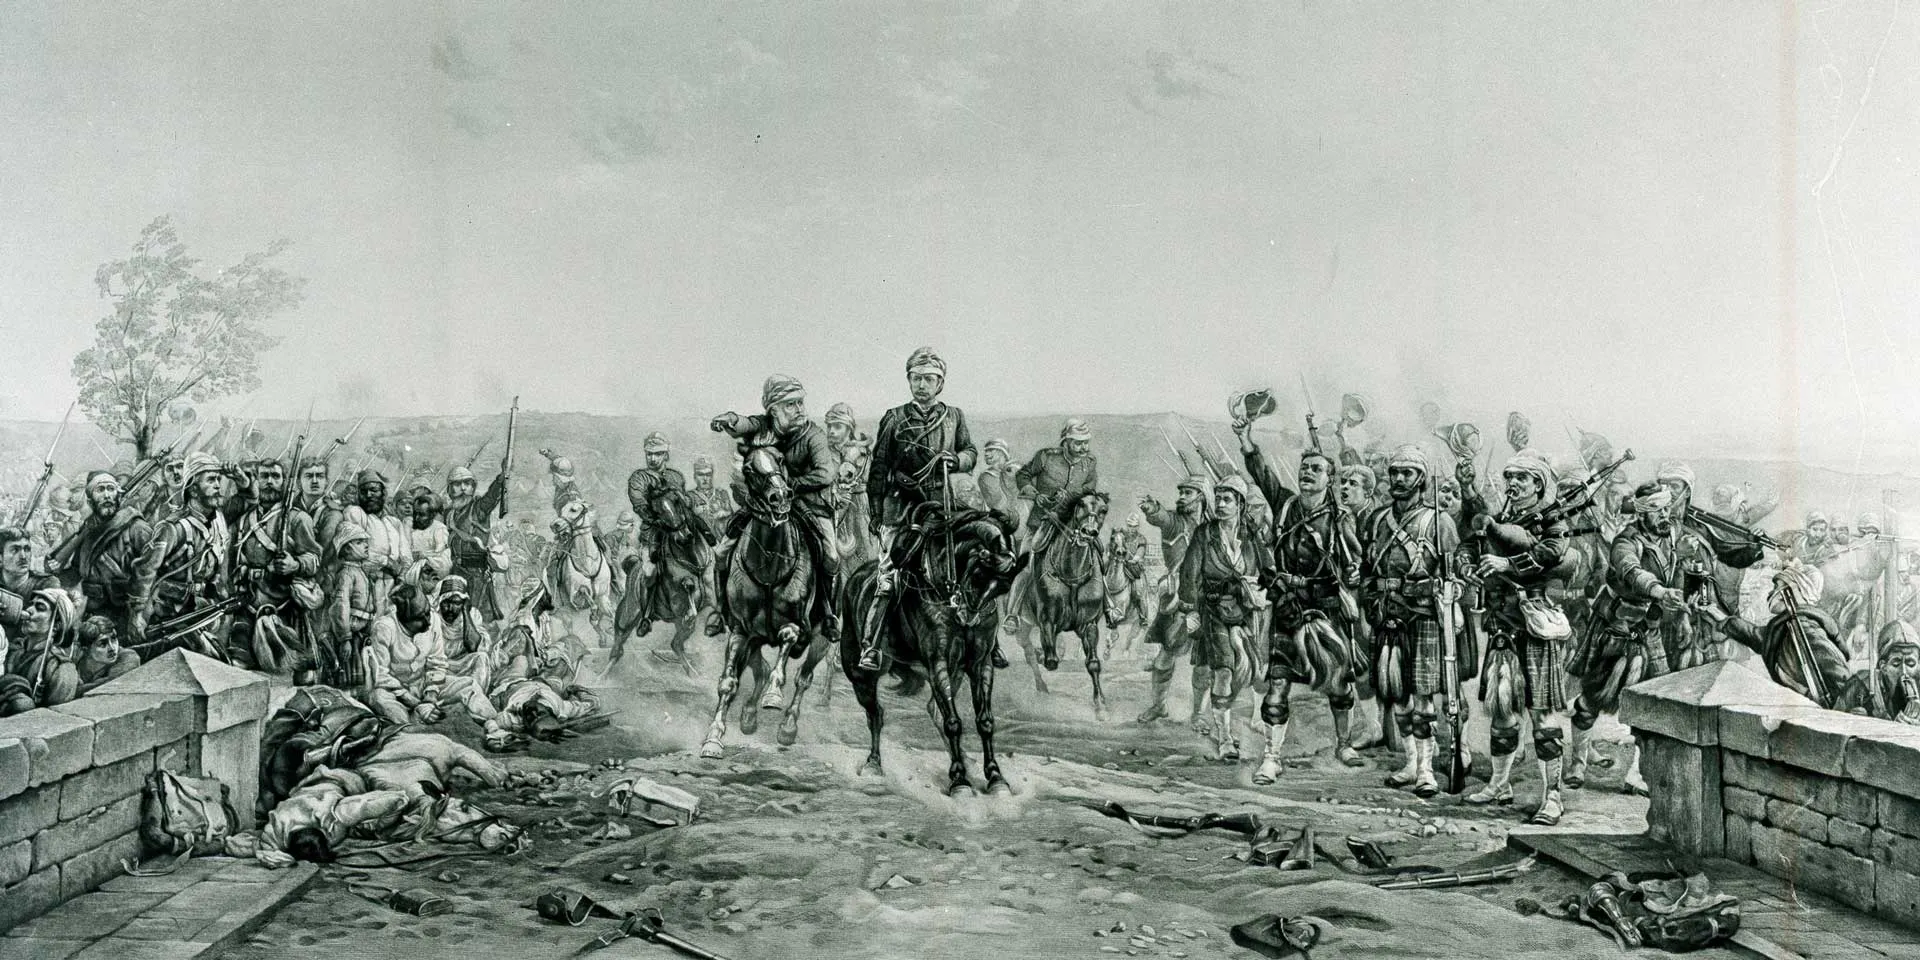
When Wolseley entered Cairo the following day, Arabi and his army surrendered. The authority of the Khedive was restored, but the British remained in Egypt to ensure stable and co-operative government.

'After the Battle of Tel-el-Kebir - General Wolseley cheered by Highlanders', 1882
Mahdist Rising
In occupying Egypt, Britain had also assumed responsibility for the Egyptian Sudan. An Islamic revolt had begun there in 1881, led by Mohammed Ahmed, who styled himself the ‘Mahdi’ or ‘guide’.
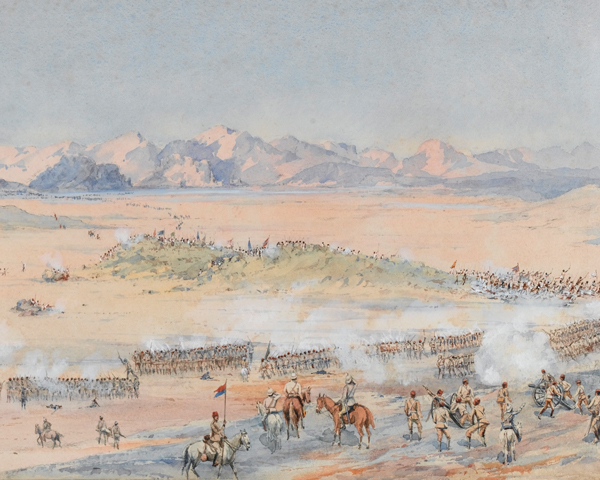
By the end of 1882, the Mahdists controlled much of the Sudan. And on 5 November 1883, at El Obeid, they annihilated an Egyptian force that had been sent to restore order.
The defeat of the Egyptian Army at El Obeid, November 1883
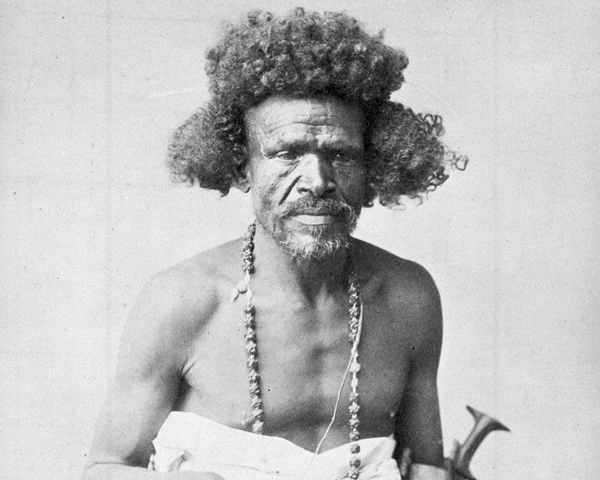
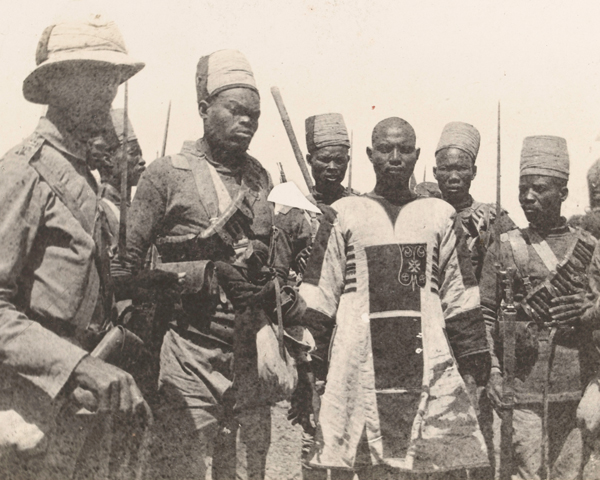
Beja tribesman from eastern Sudan, c1885
Beja
The Mahdi was supported by Osman Digna, leader of the Beja tribesmen of the Red Sea area. In January 1884, the Beja - whose hairstyles earned them the nickname of ‘Fuzzy-wuzzies’ from the British - wiped out an Egyptian force under Colonel Valentine Baker outside the Red Sea port of Suakim.
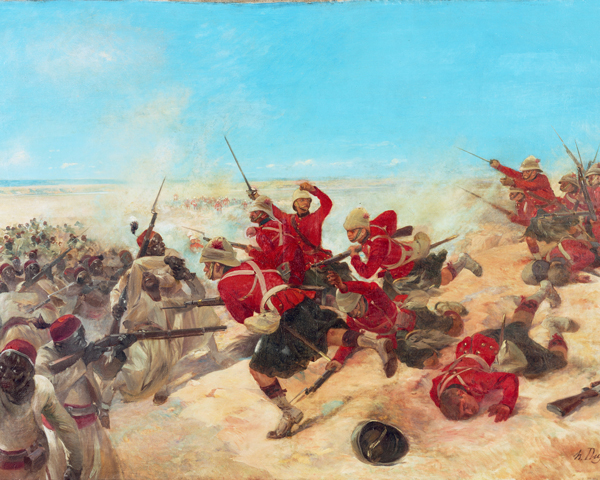
The Battle of El Teb, 1884
El Teb and Tamai
To rectify the situation, a 4,000-strong British-Indian force under Major-General Gerald Graham was sent to Suakim. On 29 February 1884, it defeated Osman Digna at El Teb. But two weeks later, on 13 March, it was almost overwhelmed at Tamai.
The British fought in two brigade squares, one of which was temporarily broken by the Mahdists. The situation at Tamai was only retrieved when the second square moved up in support.
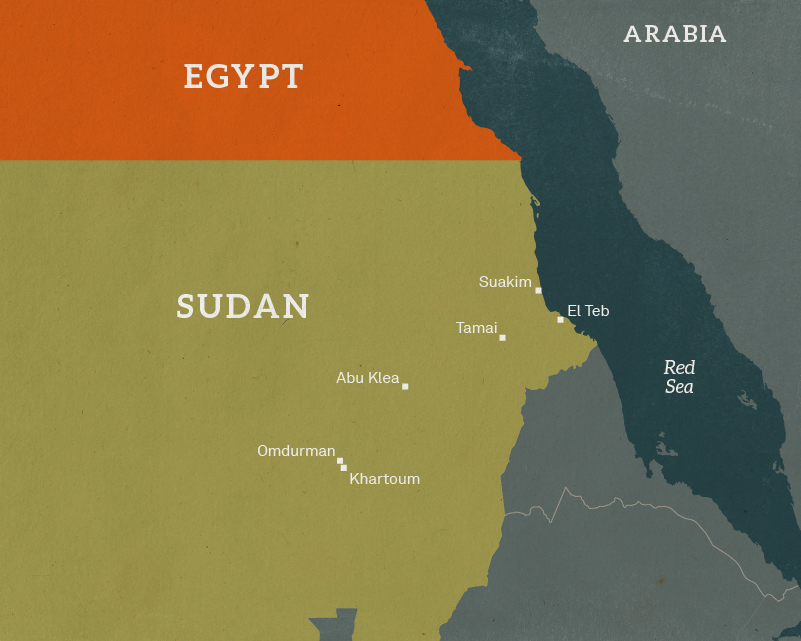
Map of the Sudan, 1884
These two victories were a boost to public morale, but they had little long-term effect. Osman Digna was able to recover from his losses and Graham’s force was withdrawn, leaving only a small garrison at Suakim.
The Battle of Tamai, 1884
Gordon in Khartoum
Meanwhile, Major-General Charles Gordon had been sent to Khartoum with orders to oversee the evacuation of the Sudan. Instead, he elected to stay and defend the Sudanese capital.
In May 1884, Khartoum was invested by the Mahdi and Britain was forced to organise a relief expedition to rescue Gordon.
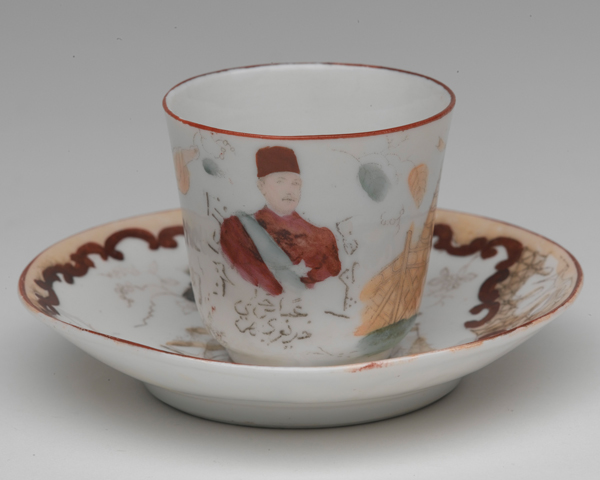
Tea cup decorated with a portrait of General Gordon, c1885
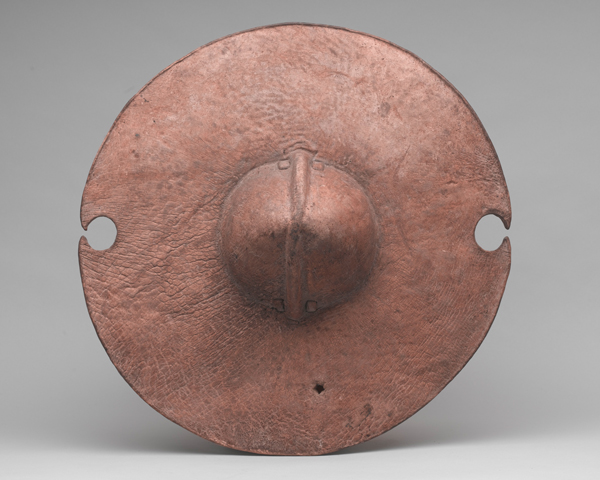
Mahdist hippopotamus hide shield, c1884
Relief force
Wolseley’s relief column set off from Cairo in October 1884. Realising that his infantry, travelling in boats up the Nile, might not reach Khartoum in time to save Gordon, he detached a desert column to travel overland by a faster, but more dangerous route.
This force, commanded by Brigadier-General Sir Herbert Stewart, was composed of four regiments of camel-mounted troops formed from the various units in Egypt and a detachment of the 19th Hussars.
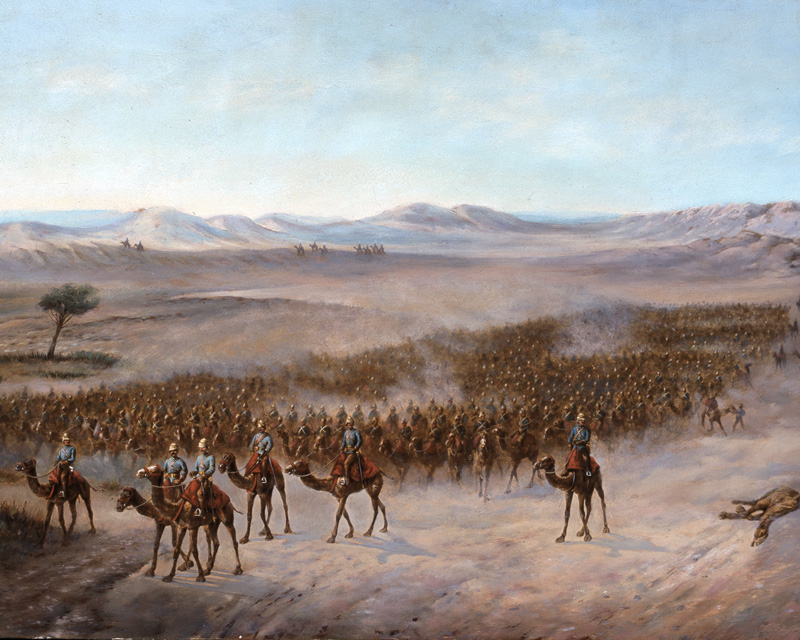
Brigadier Sir Herbert Stewart's column crossing the Bayuda Desert, 1885
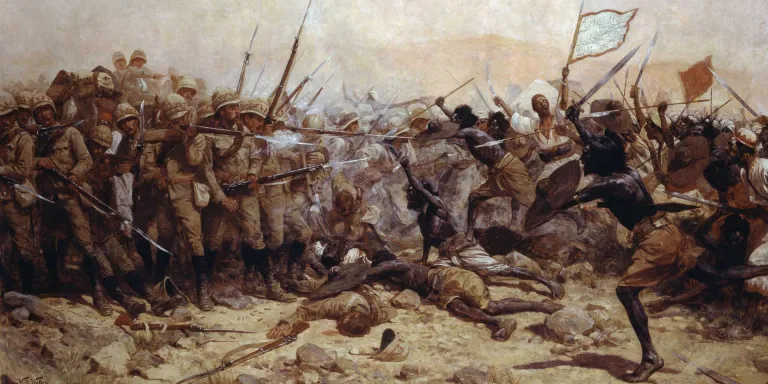
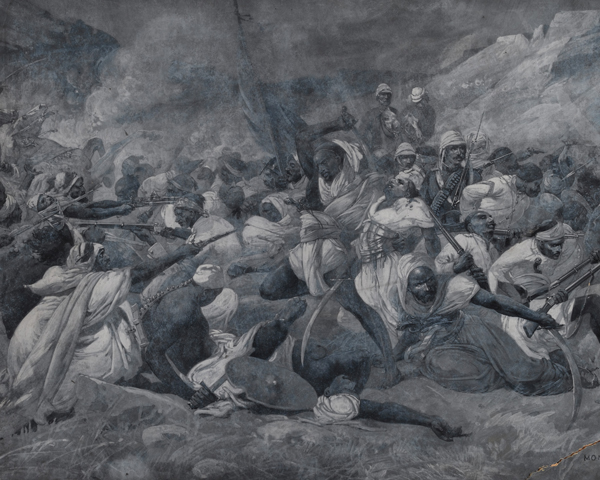
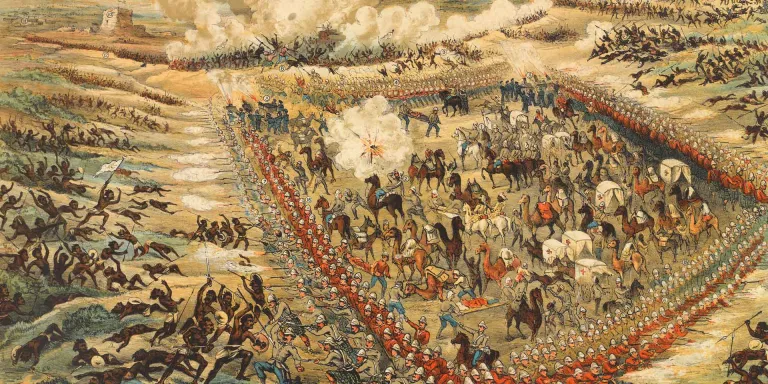
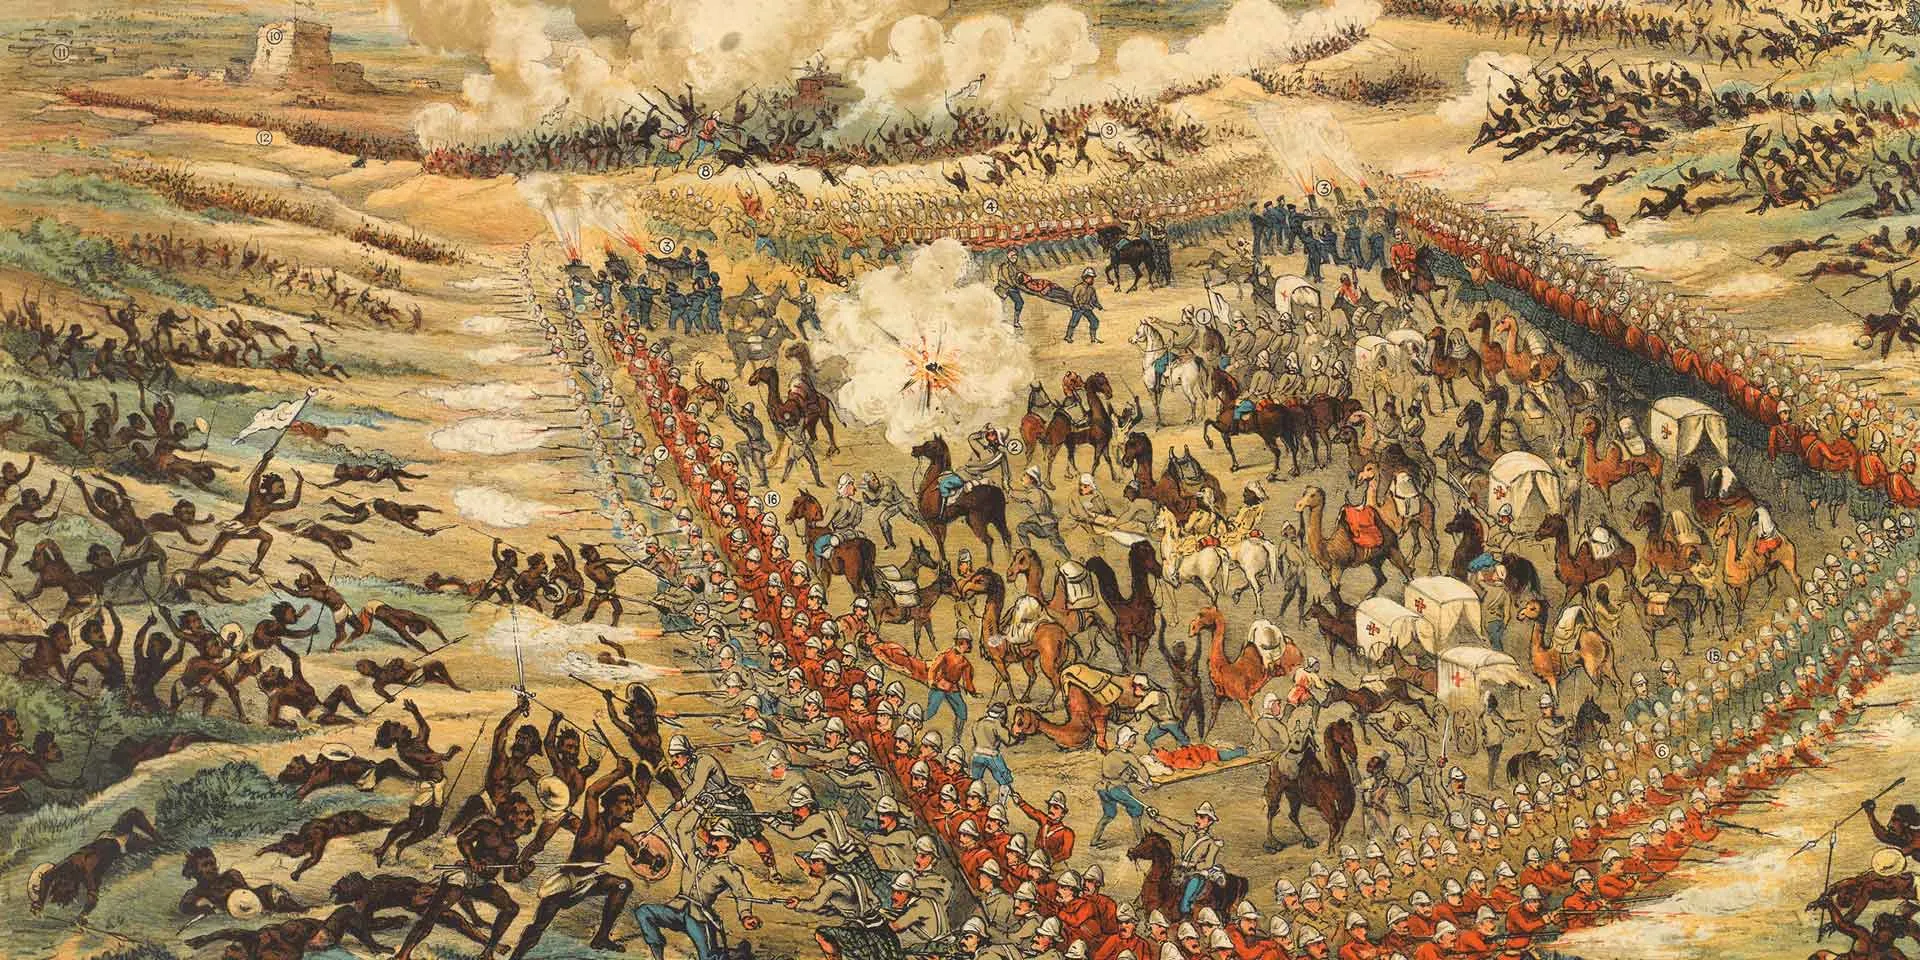
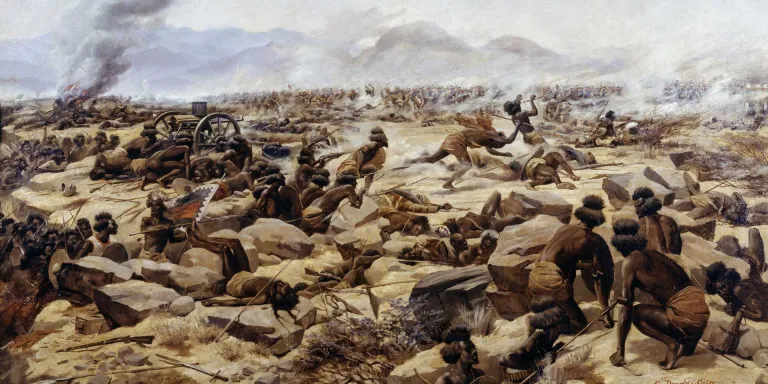
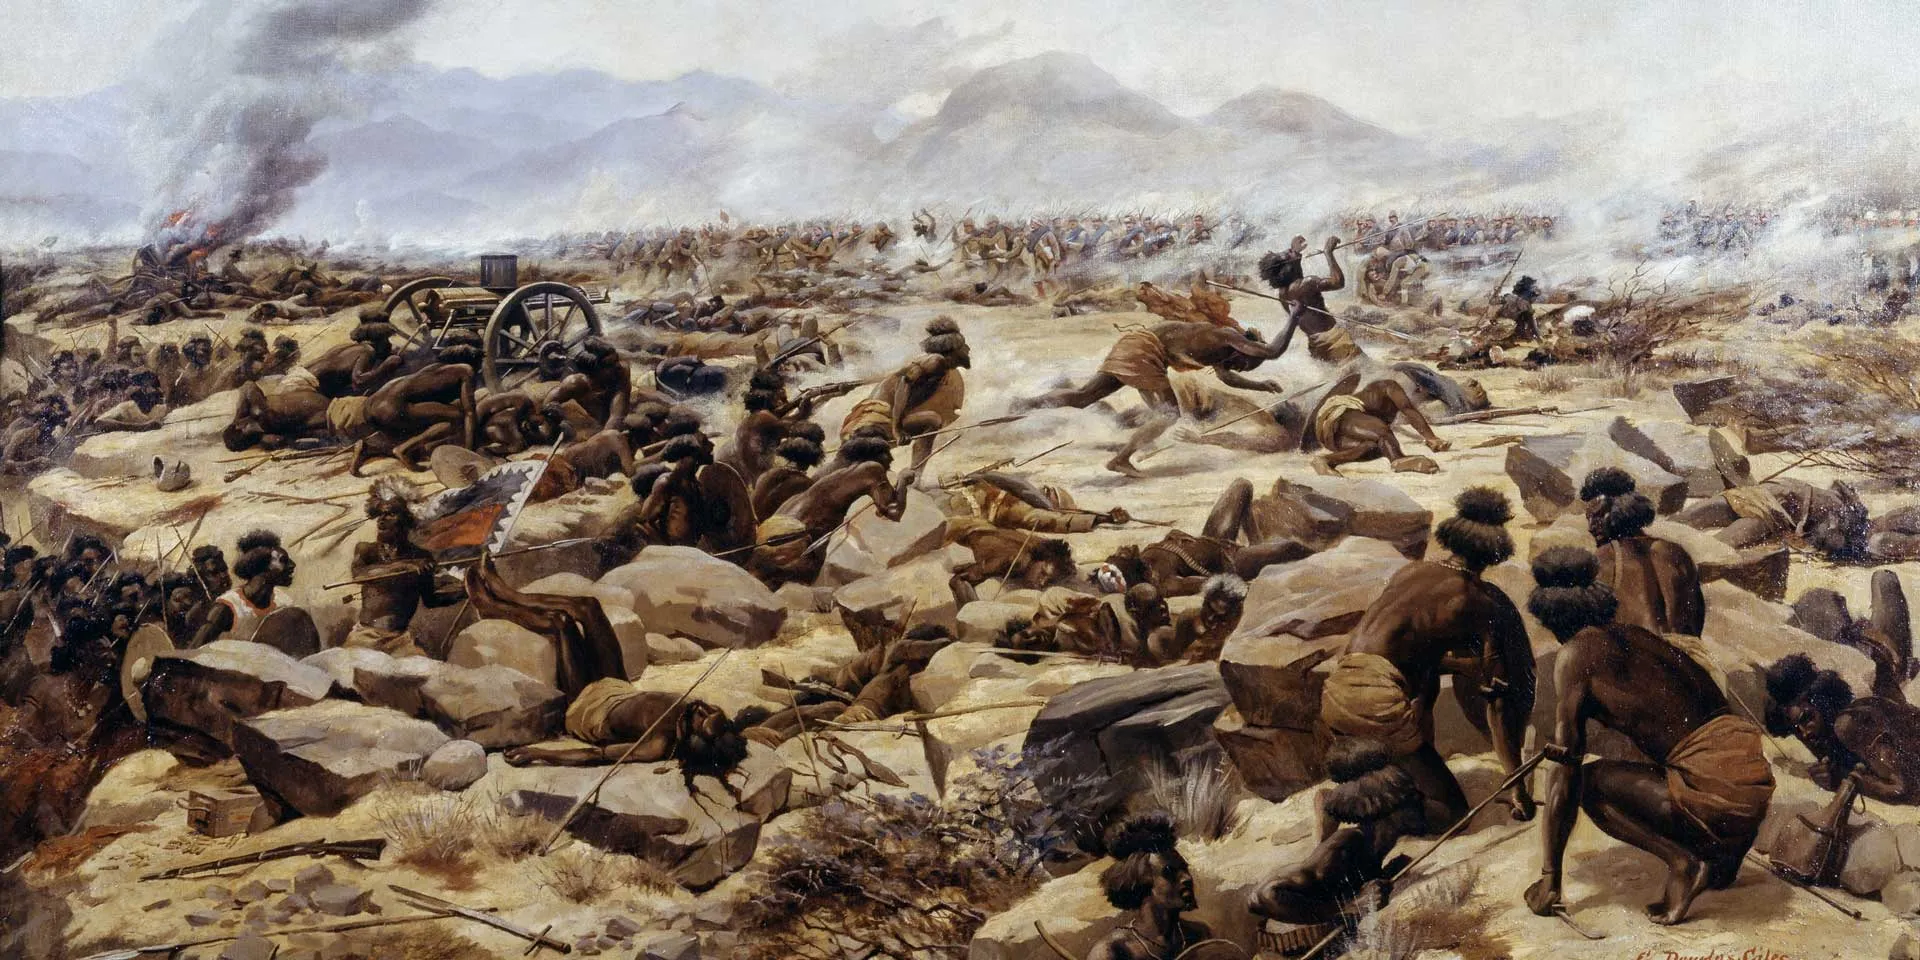
The Battle of Abu Klea, 17 January 1885

Abu Klea
On 17 January 1885, the column was attacked by the Mahdists at Abu Klea. Despite suffering heavy losses to British rifle fire, the Mahdists succeeded in penetrating the British square, which was closed only after desperate hand-to-hand fighting. The British suffered 168 casualties, the Mahdists about 1,100.
The column finally reached Khartoum on 28 January 1885, two days after Gordon had been killed and the town had fallen.
‘The most savage and bloody action ever fought in the Sudan by British troops.’
Winston Churchill on Abu Klea - 1899
Humiliation
For Britain, the death of General Gordon at Khartoum was a national humiliation. There was strong public pressure on the government to send an expedition to avenge him and restore Egyptian rule.
A Mahdist invasion of Egypt was defeated during 1888-89. But it was not until 1896 that the government authorised military action. This decision may have been influenced by concerns that if Britain did not conquer the Sudan, then the Italians and French would.
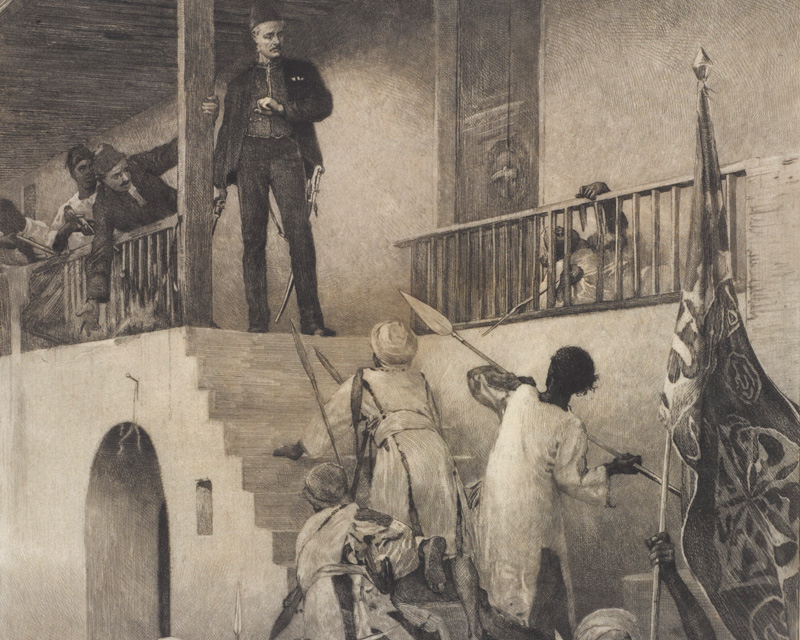
The death of General Charles Gordon, 26 January 1885
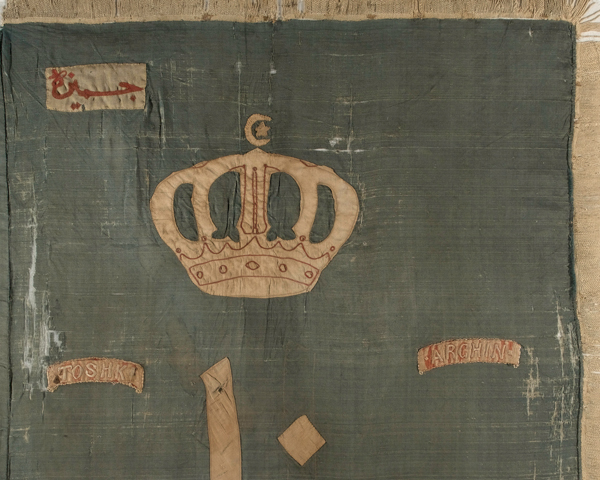
Colour of the 10th Sudanese Battalion, Egyptian Army, carried at the Battle of Toski during the Mahdist invasion of Egypt, c1889
Advance of the 9th and 10th Sudanese Battalions of the Egyptian Army at the Battle of Toski, 3 August 1889
Re-conquest
In 1896, an Anglo-Egyptian army, led by Major-General Herbert Kitchener, entered the Sudan. Kitchener understood the importance of keeping his force supplied, and he built a railway as he advanced and used steamers to move his troops and equipment down the River Nile. Progressing slowly but surely, he inflicted a number of defeats on the Mahdists.

Sudanese kettledrum, or ‘Nihas’, c1898
Emir Mahmud captured at the Battle of Atbara, April 1898
Atbara
On 8 April 1898, Kitchener’s force of about 12,000 attacked the fortified camp of a Mahdist army at Atbara. After a fierce struggle, the tribesmen were completely routed. Their commander, Emir Mahmud, and 4,000 of his men were captured.
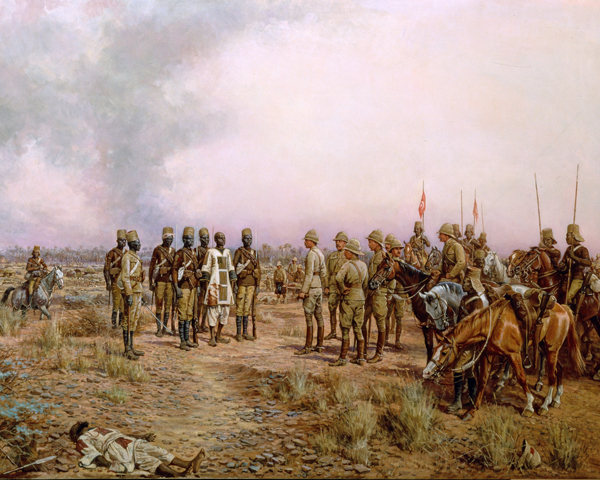
Major-General Herbert Kitchener meets the Emir Mahmud at Atbara, April 1898
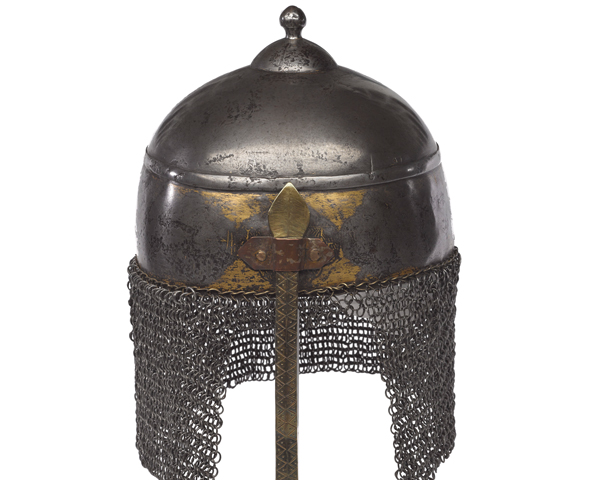
Mahdist helmet taken at Omdurman, 1898
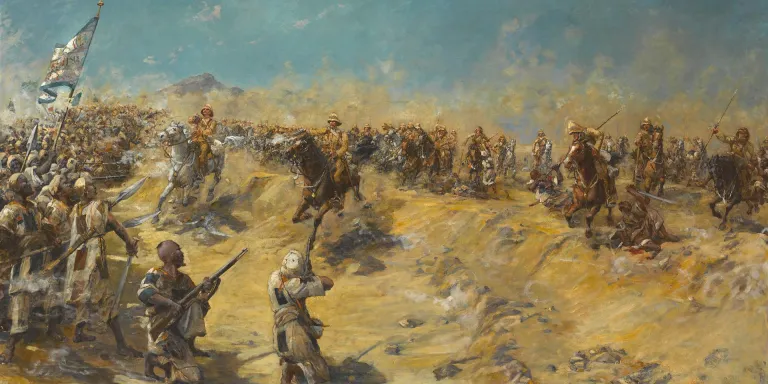
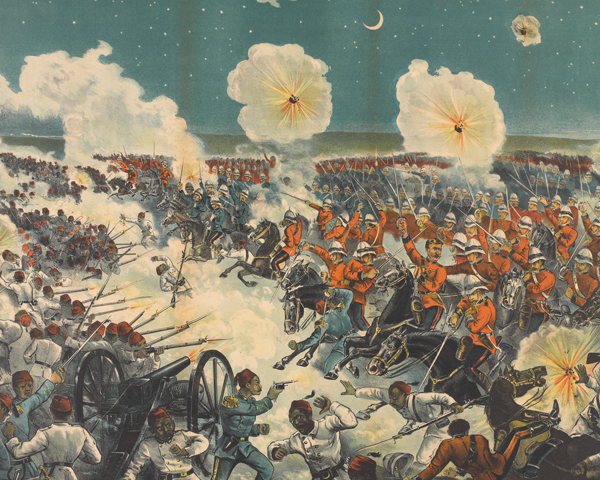
Charge of the 21st Lancers at Omdurman, 1898

Omdurman
Finally, on 2 September 1898, at Omdurman, Kitchener inflicted a crushing defeat on the forces of the Khalifa, Abdullah Ibn-Mohammed, who was the successor to the Mahdi.
Although they attacked with fanatical bravery, the Mahdists were no match for the rifles and Maxim machine guns of Kitchener’s army. By the end of the day, they had suffered approximately 27,000 casualties. The Anglo-Egyptians lost only 43 dead.
The Battle of Omdurman broke the power of the Mahdists. And although the Khalifa remained at large until the following November, the Sudan was quickly pacified.
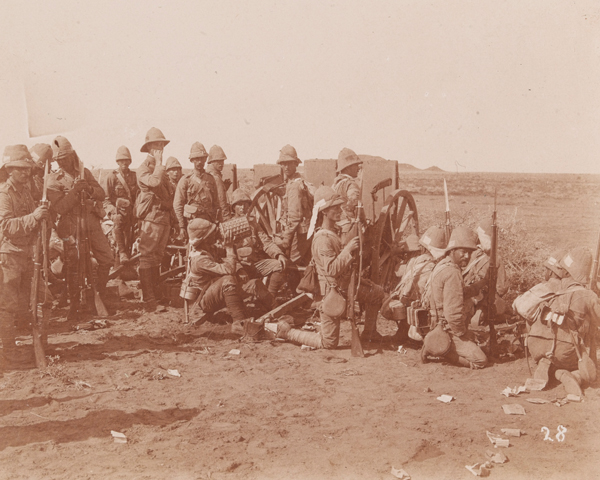
1st Battalion The Lincolnshire Regiment at Omdurman, 1898
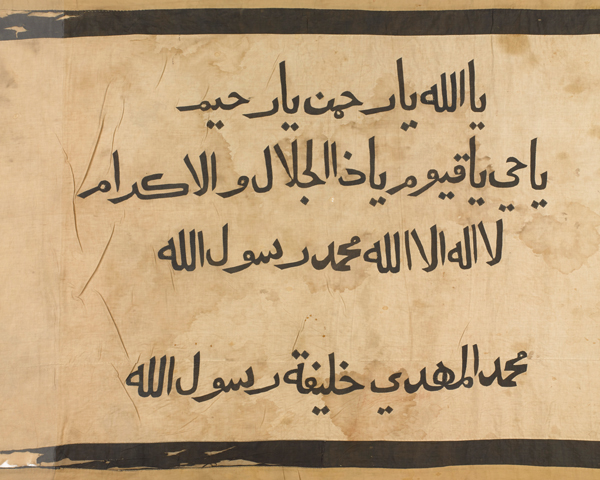
Standard of the Khalifa's black flag division captured at Omdurman in 1898
‘With a crash the bullets leaped out of the British rifles… section volleys at 2,000 yards… [The Mahdists] could never get near and they refused to hold back . . . It was not a battle but an execution.’
Description of Lee-Metford rifle fire at Omdurman by journalist George Steevens - 1898
Explore further


